While replacing the lines, I'm also trying to use E85 (ethanol fuel) compatible parts, so that it's possible to run on cheaper (or, just existent...) fuel in the future. Stainless steel, and hoses and O-rings specified for gasoline and ethanol should be sufficient.
Pipes
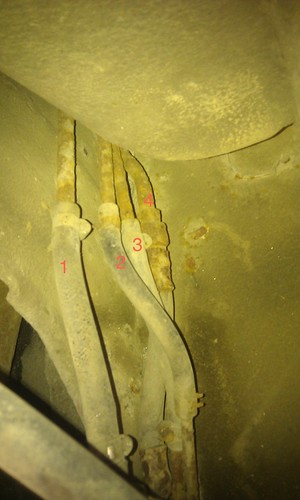
The pipe layout looks like this: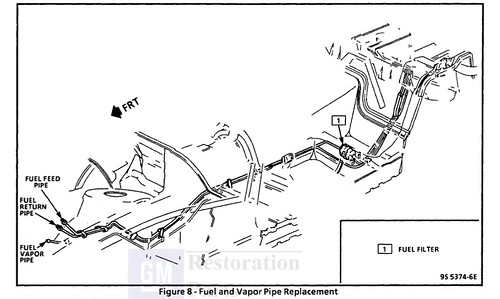
There are 3 underbody fuel pipes:
- Fuel feed to the TBI unit (outside diameter 9,5 mm)
- Fuel return from the TBI unit (outside diameter 8 mm)
- Fuel return from the evaporative emissions canister (outside diameter 8 mm)
For the feed pipe, I've purchased 4 m of 10mm outside diameter steel pipe w/ 1,5 mm wall thickness.
For the return pipes, two
Total cost for the pipes was € 89,35.
Fuel Level Sending Unit
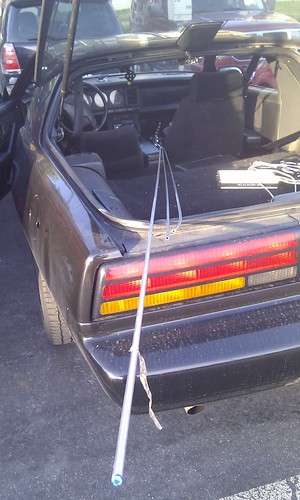
In the tank end, the pipes form part of a device called the Fuel Level Sending Unit (or Assembly) that also holds the fuel pump and fuel level sensor. The current one is in as terrible condition as the underbody pipes, so I've acquired a new one. The unit is a Spectra Premium FG20A from RockAuto, cost € 100.46 ($127). Unfortunately I don't know what material this unit is, i.e. whether it's E85-compatible. At least it's new.
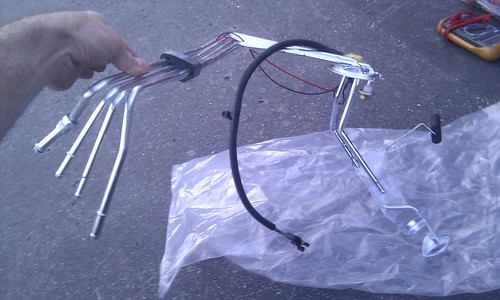 |
| Fuel Level Sending Unit |
 |
| Fuel Level Sending Unit - hose connectors |
Counting from the left:
- Vent (breather) pipe (?)
- Evaporative Emission System line (?)
- TBI return line (?)
- Fuel feed line
 |
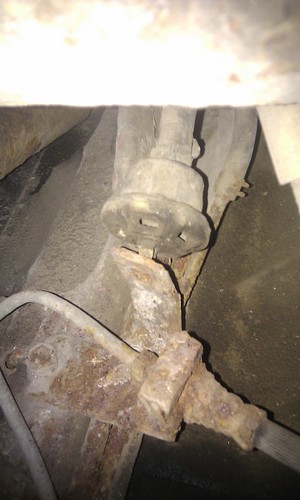
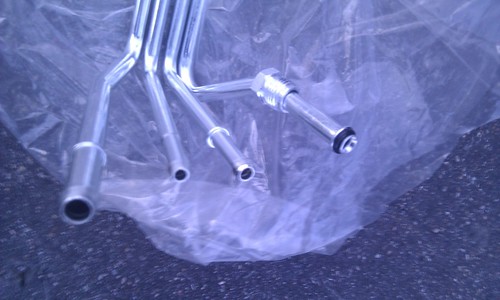
| This is how the current sending unit's pipe ends look like. |
The hose in the leftmost pipe connects to this mushroom-like device.