Removing the evap. emissions underbody pipe
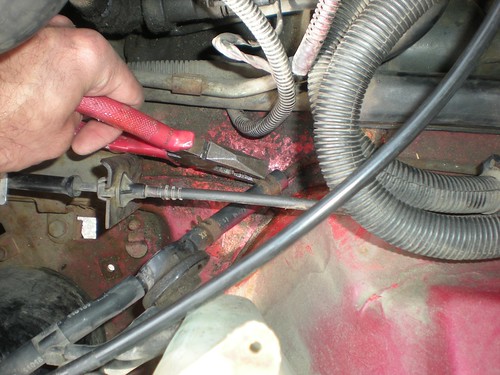
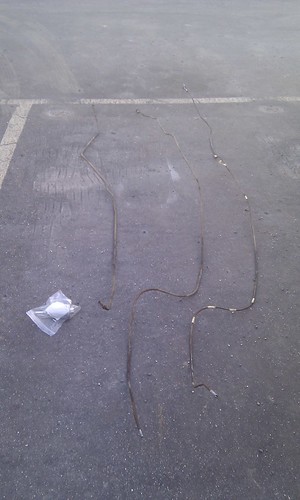
I started removing the underbody pipes by pulling out the evaporative emissions canister line. According to the service manual, this line only transfers fuel vapor from the tank, so there shouldn't be any fuel leaks when detaching the line. This turned out to be true. This is the longest of the three fuel lines, so I'd be able to get a proper measurement of the pipe as well.Engine room end of the evap. line:
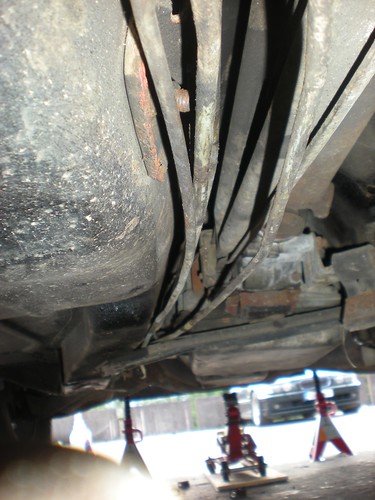
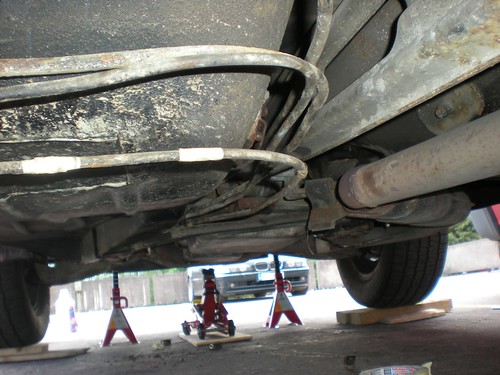
Bend points marked with tape:

Both ends detached and closed with duct tape:

After measuring the pipe, I found out the shocking truth -- the pipe is 330 cm long, but I had bought two 300 cm pipes! Luckily the hydraulic shop where I acquired the pipes agreed to change them to longer ones.
Removing rest of the underbody pipes
To depressurize the fuel system on the TBI engine *, it should be enough to turn off the engine and open the fuel filler cap. However, the feed and return lines still contain fuel, so removing them calls for some preparation and patience.
(* On the PFI (V6) and TPI engines, according to the service manual, you need to depressurize the system via the fuel pressure valve using "J 34730-1 Fuel Pressure Gage")
The hoses and the TBI engine's pipes contain some fuel as well.
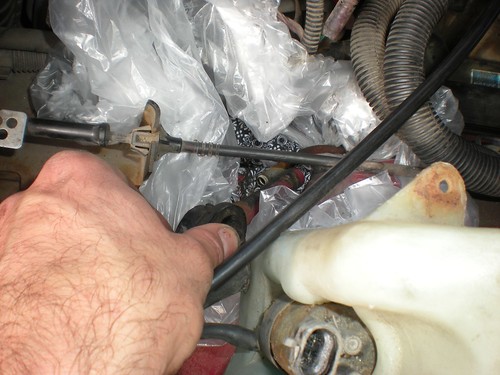
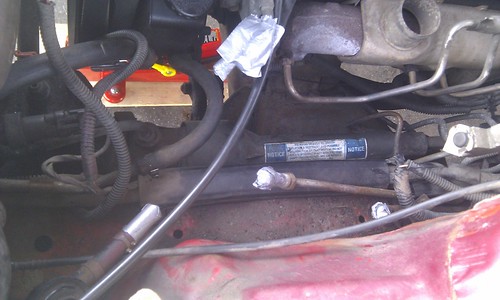
Disconnecting the fuel feed and return hoses from the engine:
Engine room with feed and return hoses disconnected:
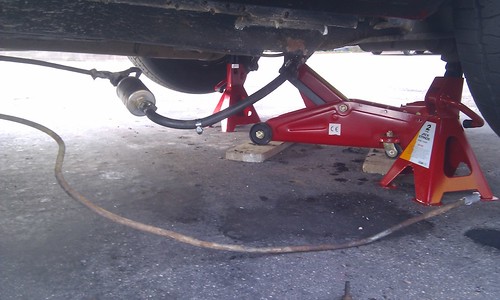
Pipes starting to come off.
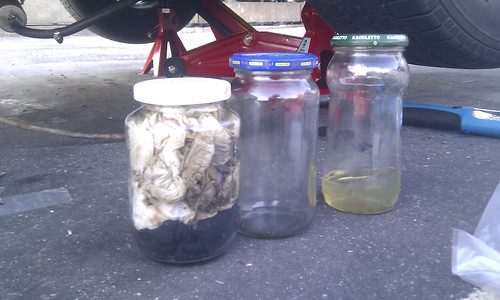
I collected the excess fuel to glass jars and eventually discarded them properly, wiping out spills as well as I could. Altogether there was maybe 0,3 - 0,5 liters of disposable fuel.
Victory, at last. The hoses and short pipe leading to the fuel level sender are still in the car.
Fuel Filter Brain Damage
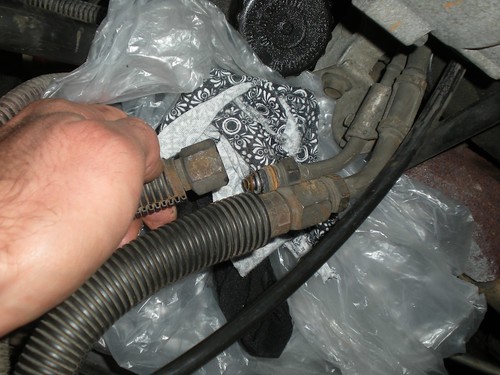
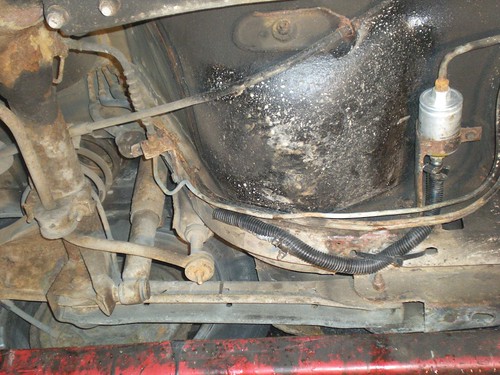
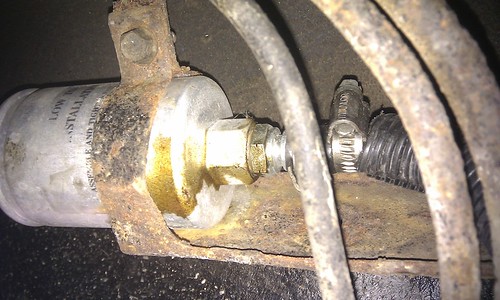
The fuel filter is normally attached to two flared pipe connectors like this: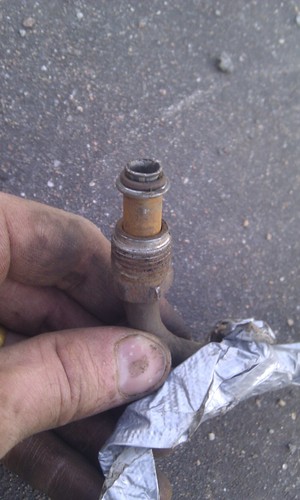
In my case, the part of the pipe leading to the filter intake side had been replaced with a hose, and a generic hose attachment was screwed onto the filter. That attachment did NOT have the flare & O-ring seal, but instead the mechanic had used this white sealing tape that I've previously seen in household water pipes.
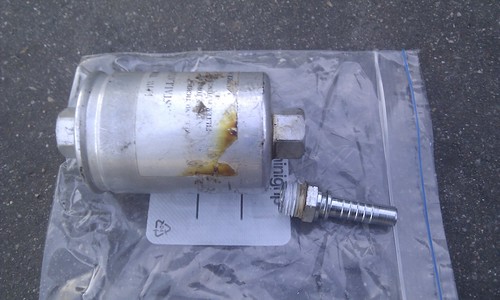
The seal had been leaking constantly just a little bit, as the stained area on the filter shows. This was probably (hopefully) the source for the gasoline smell I'd been noticing in the car.
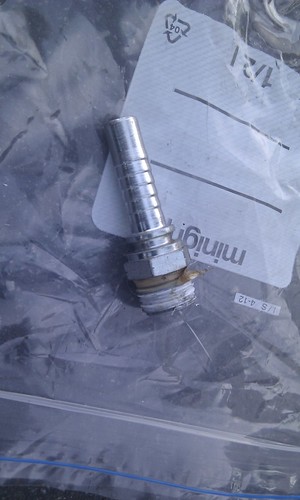
I believe the correct way to fix the broken pipe would have been to use one of these:
 (ribetautoparts.com)
i.e. a steel pipe with the correct GM-style flared connector already present. A repair kit like this goes for €25 - €35 in this city.
No comments:
Post a Comment